Pikuniku Adventure Mode Walkthrough (Part 3): Robots and Power Outages

Welcome to part 3 of our walkthrough of the Pikuniku Adventure Mode! Whilst this game is quite linear, there are still some moments and puzzles that may leave you scratching your head. As the title suggests, we’ll be fighting a robot and restoring power to the hideout.
When we left off from part 2, we had just defeated the robot boss in the forest and we were heading out of the secret base. As you’re about to leave, one of the rebels will stop you and give you the Water Hat.

Make you way back to the surface and proceed to the left out of the forest. Use your Water Hat on this plant and go through the zigzag above in the wall.

Make your way through and use your Water Hat on the plant that you land on. Jump onto it and then jump up-right through the zigzags on the wall to reveal a hidden area with a barrel inside. Push the barrel out to the left.

Push it all the way to the left, get up and under it so that you can roll it up the hill and position it on the button so that the door will open and stay open.

When you jump into the water, hold down the A button to sink and let go to float back up.

Over on the other side to the far left, get underneath the acorn, float up and try to kick it onto the platform where the button is.

Position the acorn so that it is on the button and proceed left.
Don’t forget to like us on Facebook and follow us on Twitter for more Nintendo Switch content.
Use the grappling rings on the ceiling to swing your way over the wall and fall down on the other side. Here, we want to kick and move the ball so that it is here…

make you way up to the red button and step on it. When the ball is shot upwards and is at its highest point, jump underneath it and kick it from the right so that it’ll land on the left side.

GOOOOOOOOOOOAAAAALLLLLL!!!
Manoeuvre the ball onto the blue button and proceed left. Water the plant here and use that to get up to the next platform. Use the spring button and now you’ll be back up on the surface. Proceed left back to the village.
Main Objective: Beat the giant robot of the valley

Proceed to the far left to where your scarecrow is and kick the robot. This will initiate the second boss fight.

This one isn’t really a boss fight per se, it’s more of a boss run away from (not quite as catchy). All you need to do is run from start to finish and not get caught by the big robot. There are a few hints we can give, like taking advantage of doors that lead more level-grounded routes…

Jumping over pits (that’s an obvious one) and holding A to turn into a bean in order to go faster when you’re on flat surfaces.
When you make it to the end and hide in the little crevice, the rebels will fire the laser on the robot and that’s the end of that.
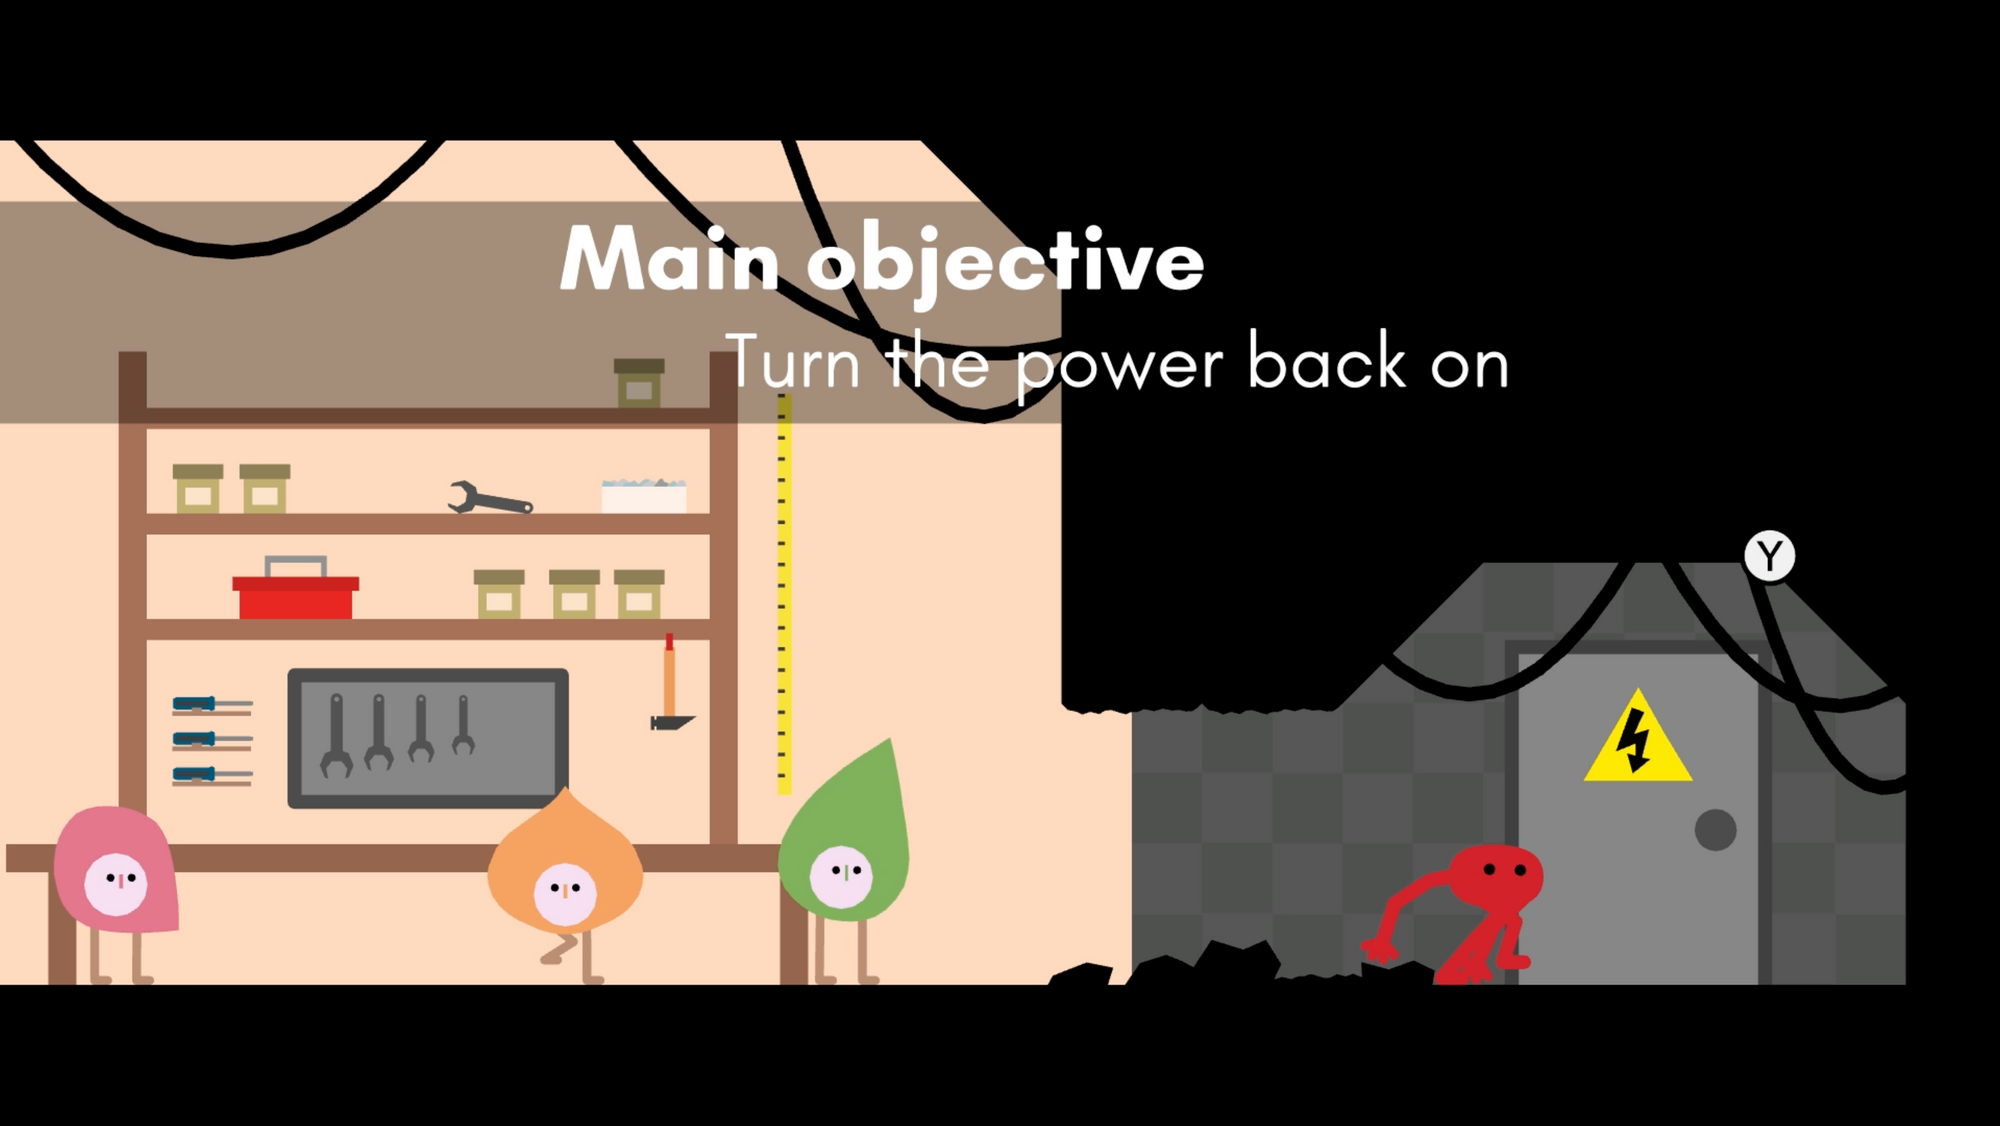
Now you’ll be back in the hideout, celebrating. After a bit of dialogue, you’ll need to turn the power back on.
Main Objective: Turn the power back on

Head through the power door and for these puzzles, we’ll need to allow the current to go from one side to the next. For the first puzzle, kick the green button once, rotating the + in the middle and then kick the power button.

For the second puzzle, kick the blue button twice. Then kick the orange button twice, jump onto the cable and kick the green button in the top-left corner once.

Now that the green cable is straight, head back down and kick the blue button twice, the orange button twice and then kick the power button for success!

For the third and final puzzle, kick the white button twice. Kick the red button once so that you can jump onto the cable and kick the green button twice.

Now kick the red button again three times so that it is back to where it started and then. go over and kick the power button.

Click here for Part 4…
And more:
Pikuniku Adventure Mode Walkthrough (Part 1)
Pikuniku Adventure Mode Walkthrough (Part 2)
Pikuniku Adventure Mode Walkthrough (Part 5)
Pikuniku Guide: The Golden Tooth from the Silver Frog
Pikuniku Co-op Levels 1-5 Guide
Pikuniku Co-op Levels 6-9 Guide